Category: WordPress

  • I recently undertook a significant project: migrating the entire JavaScript codebase of my AI Services plugin for WordPress (GitHub repository) to TypeScript.

    Why is that significant?

    • We’re talking about over 80 JavaScript files, so it’s by no means a small project. Not gigantic like e.g. Gutenberg, but certainly a substantial amount of code.
    • Additionally, that JavaScript code is powering a plugin with a fairly unique feature set. This uniqueness often makes it harder for Large Language Models (LLMs) to assist, as there’s likely less similar code in their training data.

    The process taught me a lot about the synergy between a well-structured codebase and LLMs. It also strengthened my belief that, while an LLM isn’t magically going to solve complex development tasks for you, it can be a massive productivity booster when you prepare your project and guide it effectively.

    This post will walk you through how I used Cline in VS Code together with Google’s Gemini models to get it done efficiently and why I think this migration was worthwhile.

    Why Bother with TypeScript? (Hint: LLMs Love Structure)

    If you’re a developer who hasn’t yet embraced TypeScript, I get the hesitation. You might be annoyed by the seemingly verbose syntax, or perhaps you’ve heard that it slows down development. Let’s address those points.

    The idea that TypeScript slows you down couldn’t be further from the truth in the long run. Using TypeScript allows you to ship safer code by preventing many potential bugs during development that plain JavaScript would miss. This makes complex projects easier to understand and ultimately faster to iterate on. The only scenario where TypeScript might genuinely get in the way is with quick prototypes, especially when dealing with dependencies that aren’t typed. I’d argue this is the only case where sticking with plain JavaScript is more reasonable today.

    And if you’re turned away by the syntax? Don’t worry, I definitely was in the same boat myself. But after writing about five TypeScript files, I found it started to feel very natural.

    Beyond the general benefits, there’s a modern, compelling reason to adopt it: TypeScript provides structure, and LLMs thrive on structure. By providing the clear, explicit types of TypeScript, you give the LLM a much more detailed and unambiguous map of your codebase. This helps it understand context and your intent, leading to far more accurate and helpful suggestions.

    A few weeks ago, I posted on social media: “Learn TypeScript deeply.” And I truly think you should.

    My Migration Strategy: A Human-in-the-Loop Approach

    My goal wasn’t to have an LLM do all the work, but to have it act as a super-powered assistant. I used Cline in VS Code, primarily with the Gemini 2.5 Pro model via the Gemini API. I’m a fan of Cline because of its customizability and its “Plan” vs. “Act” modes, through which you can force the model to collaborate with you on defining the approach before writing any code.

    Here’s the step-by-step process I followed.

    Step 1: Laying the Groundwork

    Before letting the LLM loose, some manual preparation is essential.

    1. Start with the Most Foundational Package: My plugin consists of several JavaScript packages. I began with the package that had no dependencies on the others. It’s crucial to migrate packages in order of their dependency graph.
    2. Define Core Types Manually: This is the most critical manual step. I went through the foundational package and defined the core TypeScript types myself, e.g., in a types.ts file at the root of the package. While an LLM can sometimes help, doing this manually ensures accuracy and aligns the data structures perfectly with my intent.
    3. Migrate a Few Files Yourself: I manually migrated 3-5 files to TypeScript. This served two purposes. First, it created “perfect” examples of my desired coding patterns—including code style, JSDoc comments, and variable naming. Second, it helped me get reacquainted with TypeScript within the specific context of this project.

    Step 2: Defining the Workflow (and Relevant Rules)

    To ensure consistency, I leveraged two key features: custom rules and reusable workflows.

    First, I established custom rules that define the TypeScript coding standards for the project. This helps the LLM generate code that is consistent with my best practices. This concept is supported by many AI code assistants, including Cline. As an example, you can see the coding standards I defined for the AI Services plugin here.

    Next, I created a reusable prompt, which Cline calls a “workflow.” This saves me from re-typing a complex prompt for every single file. Here is the workflow I created, saved as migrate-typescript.md:

    You need to migrate specific JavaScript files to be valid TypeScript.
    
    Concretely, you need to migrate the JavaScript code in <file> to TypeScript. There are three possible scenarios:
    
    - If the file is already using the extension `.ts` or `.tsx`, it may have already been renamed from `.js`. You MUST make the changes to migrate the code to TypeScript directly within the file.
    - Otherwise, if the file is using the extension `.js` and it contains React components (JSX), you must create a new file of the same name but with the `.tsx` extension and write the code migrated to TypeScript in there.
    - Otherwise, if the file is using the extension `.js` and it does not contain any JSX, you must create a new file of the same name but with the `.ts` extension and write the code migrated to TypeScript in there.
    
    First, use the `read_file` tool to collect sufficient relevant context. Some of the files the user may have already provided to you. In that case, DO NOT READ THEM AGAIN.
    
    - Search for `tsconfig.json`, `.eslintrc.json`, and `.eslintrc.js` files in the project root directory. Read all of them that you find, to know which TypeScript and TSDoc configuration requirements the migrated TypeScript code must follow.
    - Search the current directory and any parent directories _within_ the project for `types.ts` files. You MUST read all of these files to understand the project-specific types.
    - Look for other TypeScript files in the same directory or a sibling directory. Read 1-3 files to learn about the project-specific TypeScript conventions and best practices, e.g. regarding specific type imports, code style, documentation, or file structure.
        - If you are writing a `.ts` file, you must ONLY consider existing `.ts` files for this contextual research.
        - If you are writing a `.tsx` file, you must ONLY consider existing `.tsx` files for this contextual research.
    
    With that context in mind, you MUST follow the following steps in order to migrate the <file> to TypeScript:
    
    1. Migrate the JavaScript code from <file> to TypeScript, following the patterns learned from ALL previous context.
        - NEVER change any names, e.g. of variables or functions.
        - NEVER change any logic.
        - In addition to the TypeScript code itself, you MUST also ensure to update any JavaScript doc blocks to follow TSDoc syntax, according to project configuration.
        - If any usage of the obsolete `PropTypes` (`prop-types`) is present, you MUST remove it. Using TypeScript itself is a sufficient replacement.
    2. Read the `package.json` file in the root directory to check which `"scripts"` are available. Identify any relevant lint, build, and format scripts, which you can use to verify whether the TypeScript code you wrote is accurate.
        - To find the relevant lint script, look for names like "lint-js", "lint-ts", or "lint" for example.
        - To find the relevant build script, look for names like "build:dev", or "build" for example.
        - To find the relevant format script, look for names like "format-js", "format-ts", or "format" for example.
        - Remember the exact names of these scripts that you found.
    3. If you found a relevant build script, RUN IT in the command line via NPM and check the output. Here is an example how to run it:
        - If the script name is "build", execute `npm run build` in the command line.
    4. If the build script you ran reported TypeScript errors, inspect them carefully. Then review the TypeScript you wrote to see how you can fix the errors. Update the previously generated TypeScript code to fix the reported errors.
    5. If you found a relevant lint script, RUN IT in the command line via NPM and check the output. Here is an example how to run it:
        - If the script name is "lint-js", execute `npm run lint-js` in the command line.
    6. If the lint script you ran reported errors, inspect them carefully.
        - For any Prettier errors, DO NOT try to fix them manually. Instead, run the format script you previously found if one exists.
        - For any errors other than Prettier, review the TypeScript you wrote to see how you can fix the errors. Update the previously generated TypeScript code to fix the reported errors.
    7. If you found a relevant build script before, RUN IT again and check the output. Afterwards, YOU MUST STOP.
        - If the scripts no longer report TypeScript errors, all is well.
        - If the scripts still report TypeScript errors, please share the feedback with the user, to let them decide on the next steps.Code language: Markdown (markdown)

    Note: You may wonder about common prompting best practices like “You are a senior web engineer” etc. being missing from this workflow. This is because Cline already has its own built-in system instruction, so adding something like that here would likely be unnecessary or even confusing. Keep in mind that this workflow runs in combination with any built-in system instructions from your tooling as well as any custom rules you defined.

    Step 3: Executing the Migration, File by File

    With the groundwork laid, I began the migration. I preferred to first manually rename a file from .js to .ts or .tsx. Then, I’d invoke my workflow in Cline like this:

    /migrate-typescript.md @src/ai/classes/browser-generative-ai-model.ts

    By renaming the file first, Cline provides a convenient diff view against the original JavaScript code, making it much easier to spot changes. If I let the workflow create the new file, it would be treated as a brand-new file with no history to compare against.

    I started with the most capable model, Gemini 2.5 Pro. After confirming its quality, I experimented with the faster and cheaper Gemini 2.5 Flash. However, the results were notably worse, so I switched back to Pro. This highlights a key lesson: always start with the most powerful model available, and only downgrade if you can confirm it meets your quality bar for the specific task.

    While I’m using Cline, this approach should be adaptable to other tools like Cursor with only minor adjustments. As long as you can define custom rules and use reusable prompts (even if it’s just by copy-pasting), you can achieve similar results.

    The Results: Time, Cost, and Effort

    So, was it worth it? Absolutely.

    My experience was that for some simpler files, Gemini got the migration 100% correct on the first try. For more complex files, I typically needed to spend 5-10 minutes on review and corrections. However, migrating those same files manually would have likely taken around 25-30 minutes each.

    Let’s talk numbers:

    • Total Cost: The entire migration of over 80 files cost me about $20 in Gemini API credits.
    • Time Spent: I spent approximately 3 hours on the migration, including setup, execution, and review.
    • Estimated Time Saved: I estimate that doing this manually would have taken at least 8 hours.

    Spending $20 to save 5 hours of focused development work is a trade I will happily make any day. And beyond that, now I have a reusable workflow that I can use to do the same for my other existing projects in the future.

    Last but not least, LLMs will only get better with time. If you notice that the results you get for your use-case are rather poor even though you’ve set up the project and prompts in an ideal way, don’t give up for good. It can certainly be frustrating, but there’s a good chance that in a few months, or even a few weeks, the latest LLM will do better. And always keep in mind that the LLM is there to help you, not to replace you.

    Questions & Feedback

    This project was a powerful demonstration of how to partner with an LLM effectively. It underscores that the role of the developer is shifting—we are not just writers of code, but also architects of systems and directors of our LLM assistants.

    That said, I’m always learning.

    • I am by no means a TypeScript expert. If you are, you may find code patterns in the AI Services codebase that you consider suboptimal. Please let me know in the repository!
    • Obviously, when it comes to using LLMs for code assistance, the field is changing daily. If you’ve found success with other approaches or if your efforts have mostly led to disappointment, I’d love to hear from you and learn from your experiences in the comments below.
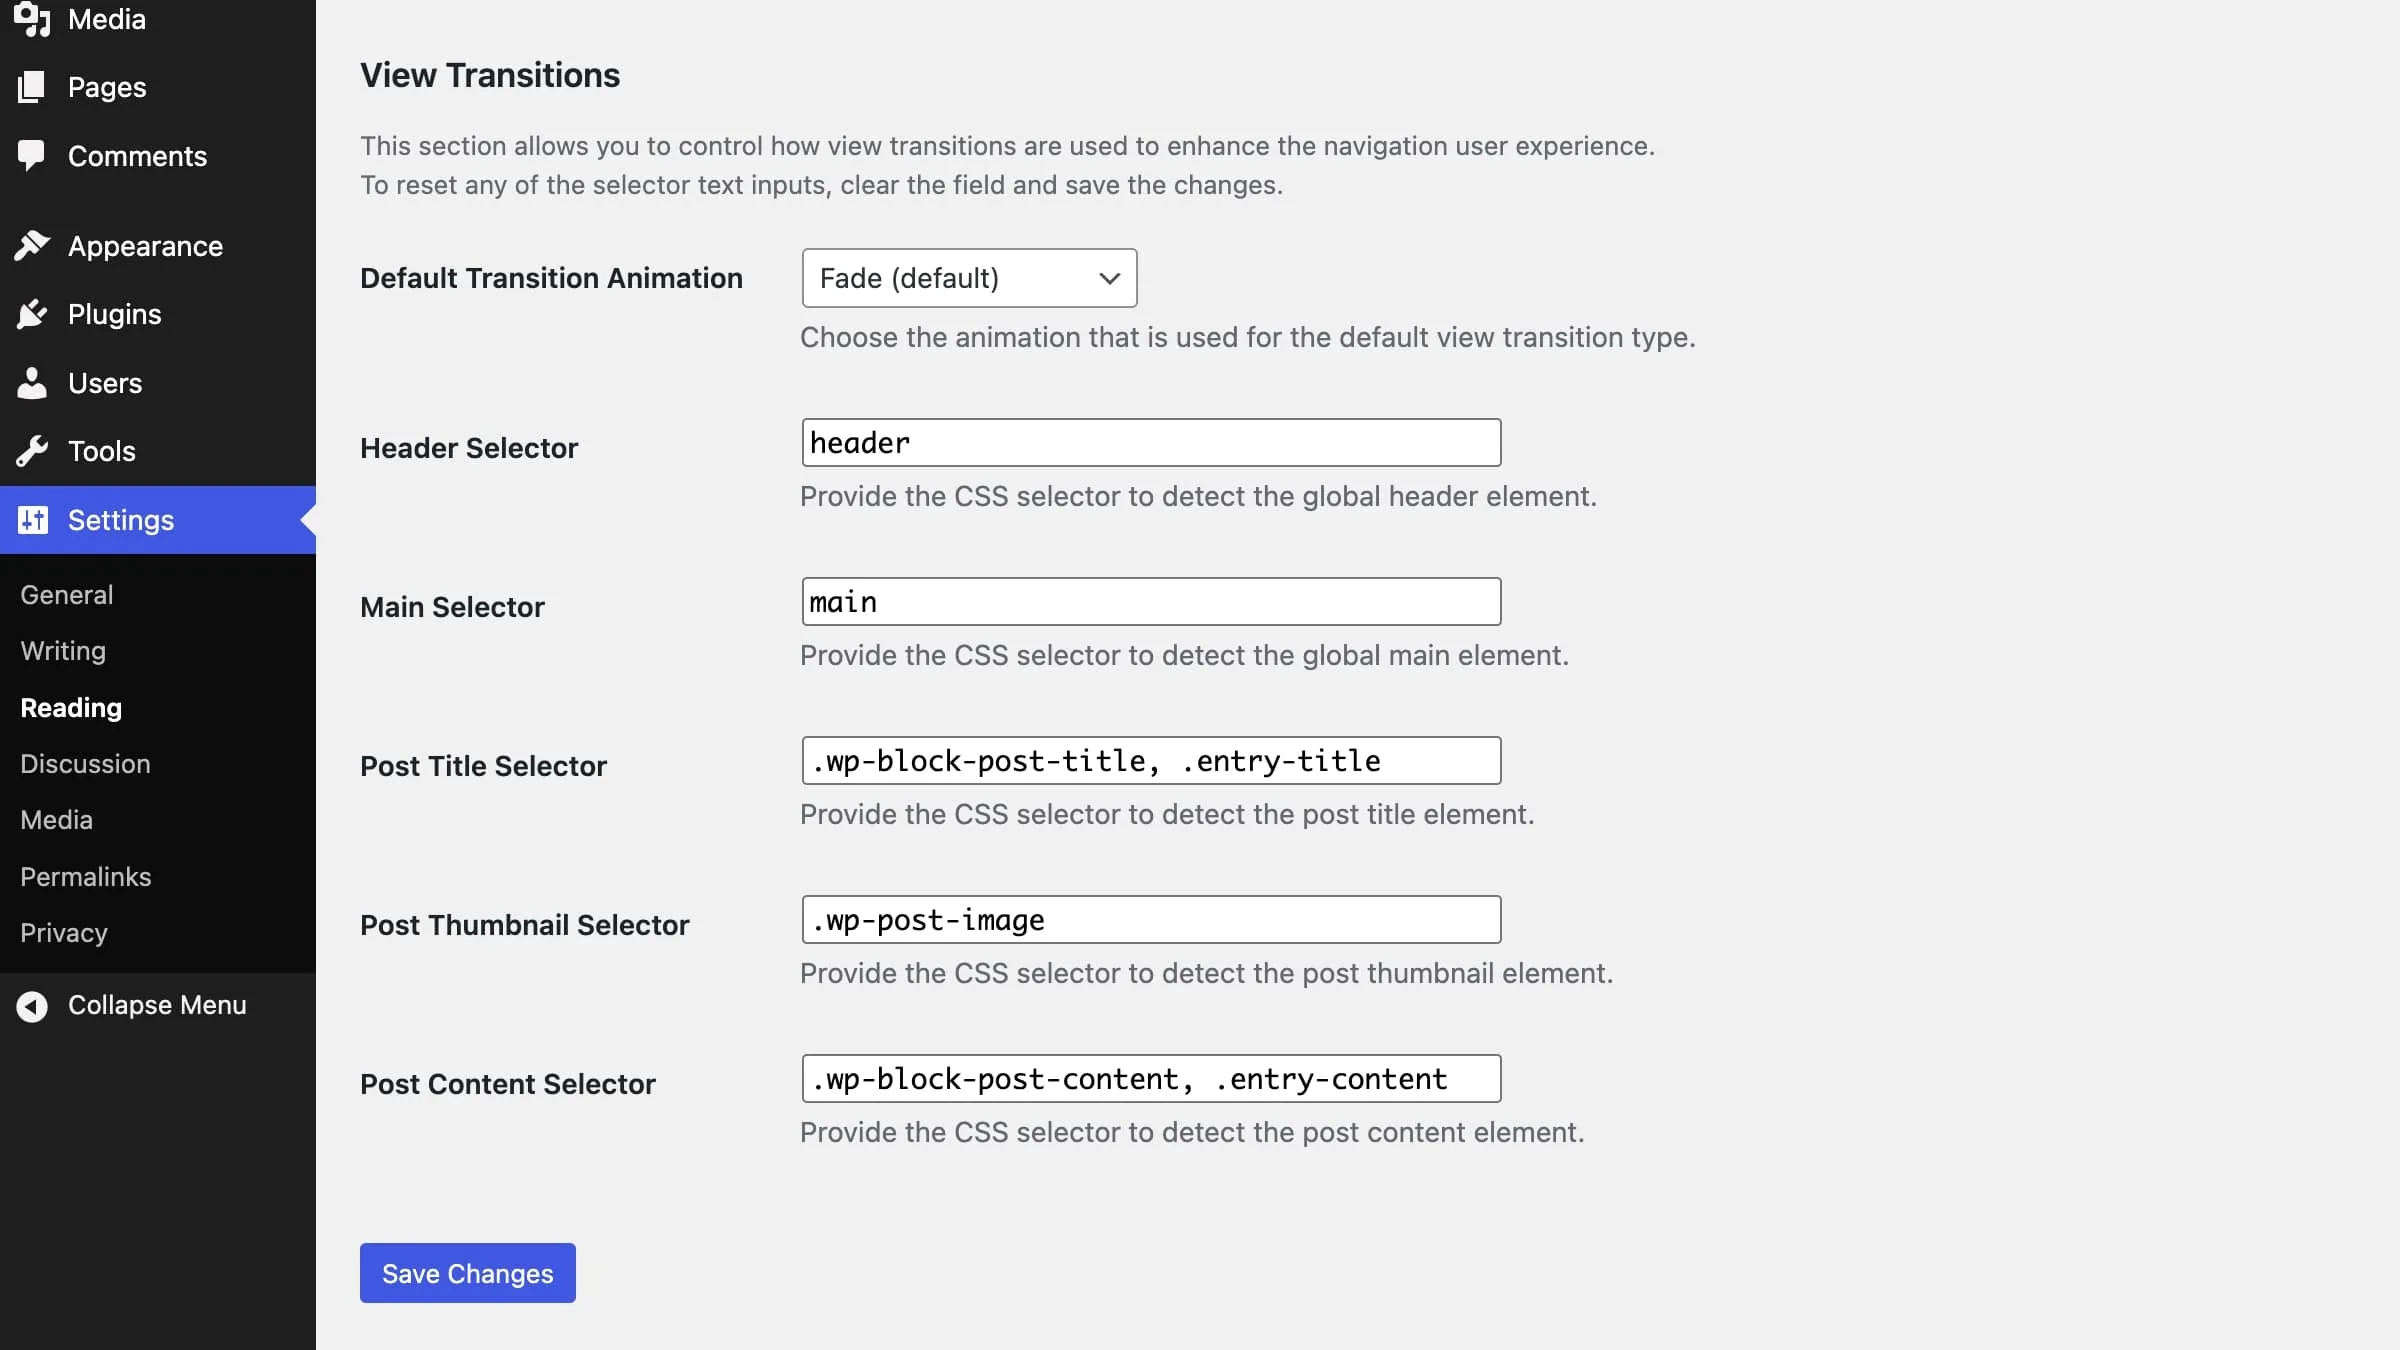
  • I’m thrilled to announce a new plugin from the WordPress Core Performance Team: View Transitions! This experimental plugin brings the power of the cross-document View Transitions browser API to your WordPress site, allowing for smoother, animated transitions between page navigations.

    View Transitions?

    Traditionally, moving from one page (or, technically, URL) to another on the web has always involved an abrupt, “hard” reload. While this might seem completely natural to many of us on the web, user expectations have shifted drastically in the past (almost) two decades.

    Native mobile applications, with their seamless in-app navigations and smooth transitions, have set a new bar for user experience. This has led web developers to try to catch up with that experience, often turning to Single Page Applications (SPAs). While SPAs aim to mimic native app navigations by dynamically updating content without full page reloads, this often comes with increased development complexity and a shift in how you structure your entire website, often at the cost of accessibility or performance.

    Now, with cross-document view transitions, you can achieve that desired user experience through smooth transitions on the web without any extensive overhaul of your website. And the new View Transitions plugin makes it super simple in WordPress.

    Read more

  • Two years ago today, on May 22, 2023, I opened an experimental pull request for a new module in the Performance Lab plugin. That little experiment was the very first step on a long road that ultimately led to the “Speculative Loading” feature landing in WordPress 6.8 last month (April 2025).

    For those unfamiliar, the Speculative Loading feature enhances performance by speculatively loading pages a user is likely to visit next, which can make navigation feel almost instantaneous. If you want to dive into the technical nitty-gritty, I recommend checking out the “dev note” post on Make WordPress Core.

    This post, however, isn’t about the what or how of the feature itself. Instead, I want to pull back the curtain and share the story behind the feature—the milestones, the discussions, and the collaborative effort that took it from a spark of an idea to a reality for millions of WordPress sites. The impact is considerable even for the entire web. Keep reading to the end for concrete numbers. 👇

    Read more

  • Keeping the “Tested Up To” version of your WordPress plugin up-to-date on WordPress.org is crucial for ensuring compatibility and giving your users confidence. However, the process of manually updating this information can be a bit tedious, often involving a new release even if no other code changes are necessary.

    While there are existing GitHub Actions that can deploy plugin assets to WordPress.org, such as the excellent 10up/action-wordpress-plugin-asset-update, using them solely for updating the “Tested Up To” version without any customization can be less than ideal. You might inadvertently deploy other changes you’ve made to your readme.txt file or other assets, even if those weren’t intended for immediate release. This could lead to unexpected updates on the plugin directory.

    Imagine you implemented a new plugin feature in your GitHub repository which is not released yet, and you’ve already included documentation about it in the readme.txt. You wouldn’t want that to be deployed by accident when all you want to do is bump the “Tested Up To” version.

    This post highlights a targeted GitHub workflow for exactly this purpose, which allows you to automate the deployment of bumping your WordPress plugin’s “Tested Up To” version in isolation.

    Read more

  • In my initial post that announced the AI Services plugin for WordPress I mentioned several times how it simplifies using AI in WordPress by providing AI service abstractions as central infrastructure.

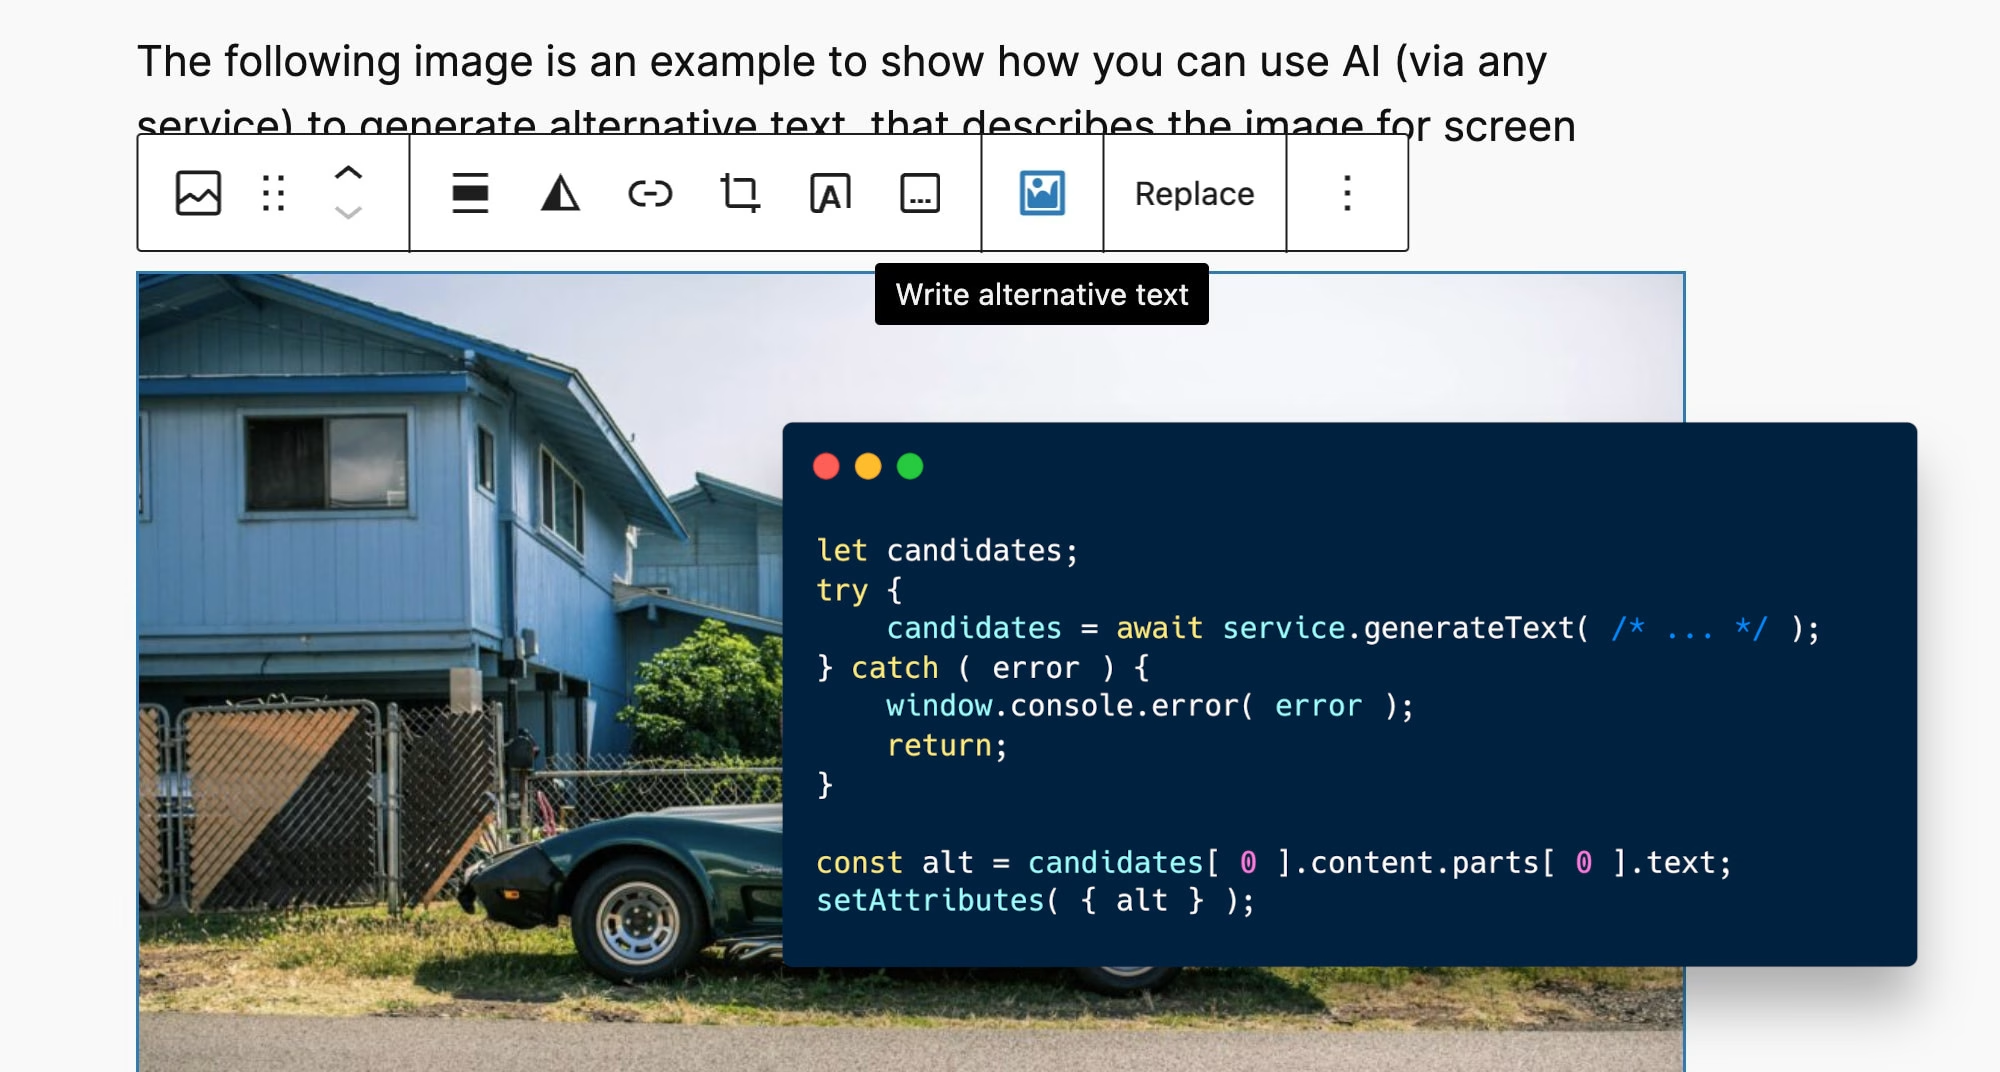
    In this post, let’s take a more hands-on look how you as a developer can use the AI Services plugin: We will write a WordPress plugin that generates alternative text for images in the block editor – a crucial aspect of good accessibility, which AI can be quite helpful with. Since the feature will be built on top of the AI Services plugin, it will work with Anthropic, Google, OpenAI – or any other AI service that you may want to use. And the entire plugin will consist of less than 200 lines of code – most of which will in fact be for the plugin’s UI.

    Read more

  • It’s safe to say the topic of generative AI doesn’t need an introduction in today’s age. It has been emerging throughout the tech world. However its adoption in the WordPress ecosystem has been slower than in other ecosystems. This is for various, mostly technical reasons that make implementing generative AI features in WordPress harder than elsewhere.

    That’s what I’m trying to address with AI Services, a new free open-source plugin that is now available for early access on GitHub, and as an early version 0.1.0 in the WordPress plugin directory.

    AI Services is an infrastructure plugin which makes AI centrally available in WordPress, whether via PHP, REST API, JavaScript, or WP-CLI – for any provider. Other plugins can make use of the APIs from the AI Services plugin to easily add AI capabilities to their own plugins, for whichever third party service they prefer: Whether it’s Anthropic, Google, or OpenAI, whether you’d like to use another service, or whether you’d like to leave the choice up to the end users of your plugin – AI Services makes it possible by providing access to the various APIs in a uniform way. It acts as a central hub for integrating AI services, allowing plugin developers to focus on functionality instead of managing individual service integrations. As an end user of WordPress, that means you have more control on how you would like to use the AI capabilities provided by the plugins.

    Read more

  • If you’re a WordPress plugin developer, you may have come across the concept of autoloading options. Or you may not, since knowing about autoloading options is, technically speaking, entirely optional when implementing a WordPress plugin that uses options. However, being unaware of the concept of autoloading options can lead to massive performance problems for large WordPress sites. It can notably slow down the server response of sites using your plugin. And by doing that, it hurts their “Time to First Byte” (TTFB), which directly contributes to the Core Web Vitals metric “Largest Contentful Paint” (LCP).

    This post is about explaining what autoloading options in WordPress is, how it works, and how plugins should go about it. We’ll go over the basics as well as explore how to use more recently introduced WordPress Core enhancements, including some code examples. This will hopefully help you get to a comprehensive understanding of how to apply autoloading in your WordPress plugins in a way that’s both efficient (for your own plugin’s usage) and responsible (for the overall sites using your plugin, in a gazillion of combinations with other plugins).

    Read more

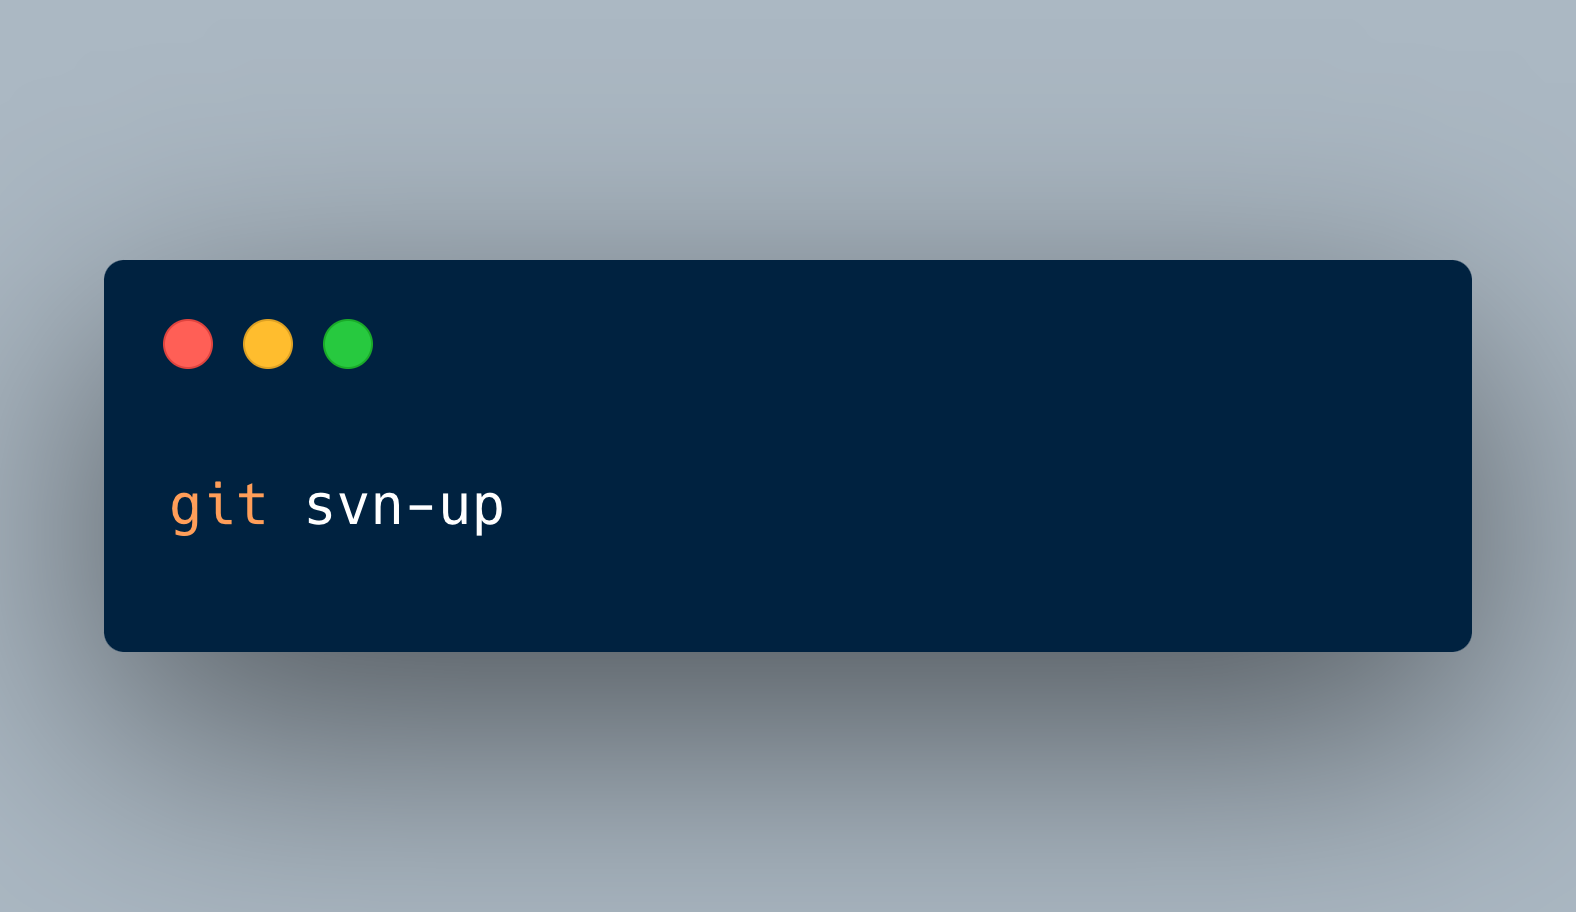
  • During an informal meetup between the WordPress Core committers attending WordCamp US 2024, one of the topics we discussed was how each of us was handling commits. Given that WordPress Core uses svn and Trac for its source of truth but git and GitHub are encouraged for contributing, it can be a bit of a hassle to synchronize changes when it comes to committing code to WordPress Core.

    Fortunately, this is only relevant for the folks that commit code, i.e. nothing that a new contributor needs to worry about. Yet, there’s a good number of committers, and new ones are added regularly, so we thought it would be good to document our workflows. There’s no “official” documentation about this, simply because there’s no universally recommended approach. Many committers have come up with their own solutions throughout the years, so we decided it would be a great idea if each committer documented their approach, so that we would have a number of solutions to compare and for newer committers to review and choose from.

    This brief article outlines my personal workflow for committing to WordPress Core.

    Read more

  • While I was making minor updates to my Attachment Taxonomies plugin (GitHub repository) the other day, I noticed that the e2e tests were failing when run against WordPress version 6.1. Since the plugin’s minimum requirement is that version, I still run tests against it, to make sure it keeps working as expected.

    After some investigation, I noticed the issue was happening due to the way the block editor used to work prior to WordPress 6.3, when it started to be iframed by default. So the failure most likely wasn’t happening due to an actual bug in the plugin, but due to an issue with the e2e tests.

    Read more

  • In my post from last month, I am sharing my experience from rebuilding my WordPress website using a block theme, including a performance comparison. As part of that post, I included a spreadsheet with a detailed performance breakdown from before and after the changes. I only provided a bit of context for how I conducted the performance comparison in that post, however as promised, in this post I am sharing the concrete methodology that I used and how you can use it to measure performance of websites yourself.

    In order to better explain the methodology, I thought I might just do another similar kind of analysis that I would go over in this post. Last week, WordPress 6.2 was released, so no better opportunity than to measure how updating my website from WordPress 6.1 to 6.2 affects its performance!

    I created a spreadsheet with the full data for this new analysis, and in this post we’ll go over the process for how I got that data in detail.

    Read more